<
<
Replacement windshields and canopies is a great topic on the message board. The original windshields from the Owosso Motor Car Co. were made of glass and DOT approved. They had a few different sources over the years, but none are reproducing these now.
If you presently have a good glass windshield with no cracks, guard it like it is GOLD. If you are towing or trailering it, cover the windshield to protect it from stones. Do not take it out to paint the vehicle. Once it cracks, you will cry like a baby.
The original canopies were made of some type of tinted plastic. Their source is unknown.
Some Pulse owners have actually made their own windshields and canopies from flat plastic or Lexan with verying degrees of luck, but most detract from the beauty of the vehicle.
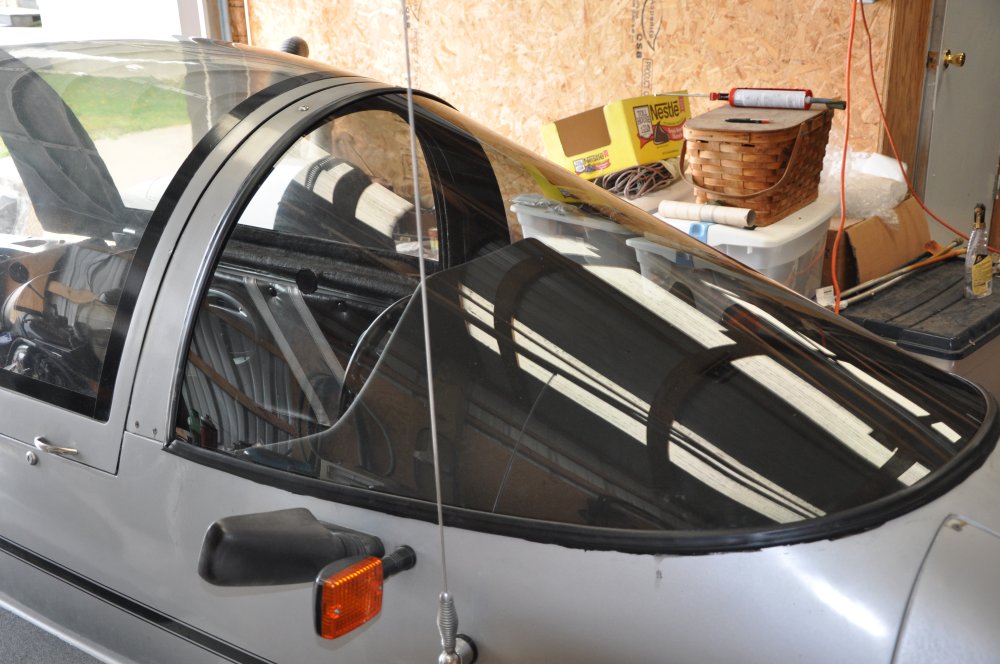
If the Pulse windshield was only flat glass, we would have no problem replacing them....but that is not the case. The Pulse windshield has quite a curve and placed at such an angle that the driver demands as little distortion as possible, especially at the lower center area. Several windshield attempts that had distortion left the driver with an instant headache, if he drove for any period of time.
In 2007, Chuck Furgason spent thousands of dollars attempting to have replacement windshields made of glass, however the few that he did get from the manufacturer were not optically acceptable.
As of 2010, Phil Martin of Ohio has canopies and windshields available for sale.
I think Phil Martin's may be the best answer and easiest to install, but I have provided all available info on this topic, old and new, .... it is all posted below. Good Luck, Steve
REPLACEMENT WINDSHIELD'S & CANOPIES FROM PHIL MARTIN of OHIO....2010......Contact Phil Martin - 419-376-7183
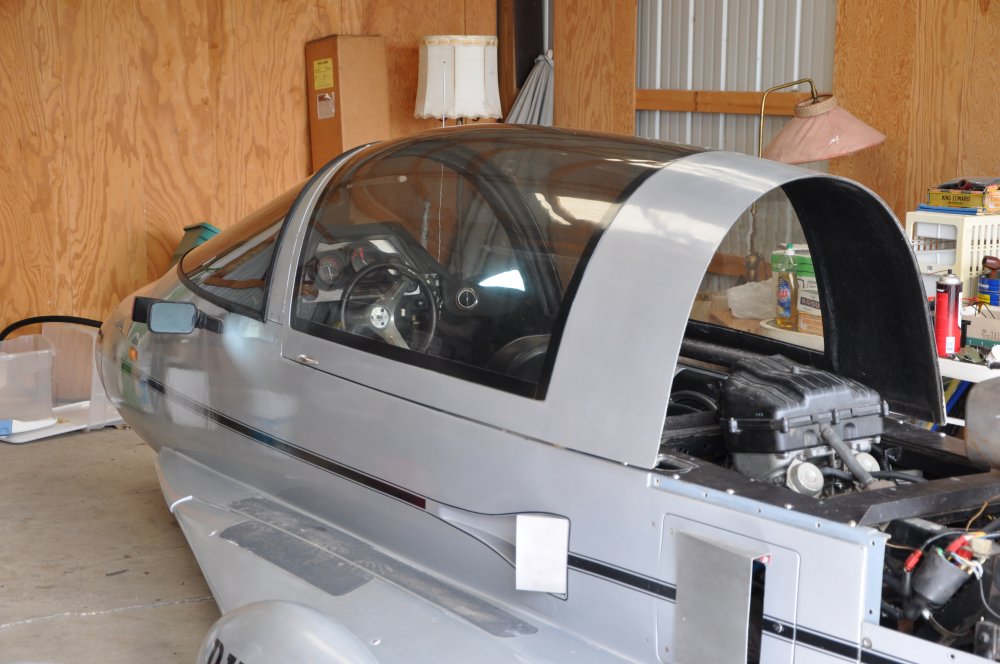
The Martin Pulse Windshield and Canopies are manufactured by a company that makes NASCAR windshields and they are polycarbonate and have the least distortion.
The windshield is very close to the exact shape and size and should slip into you body with a good fit. The pics below show the new windshield and canopy installed Pulse #122.
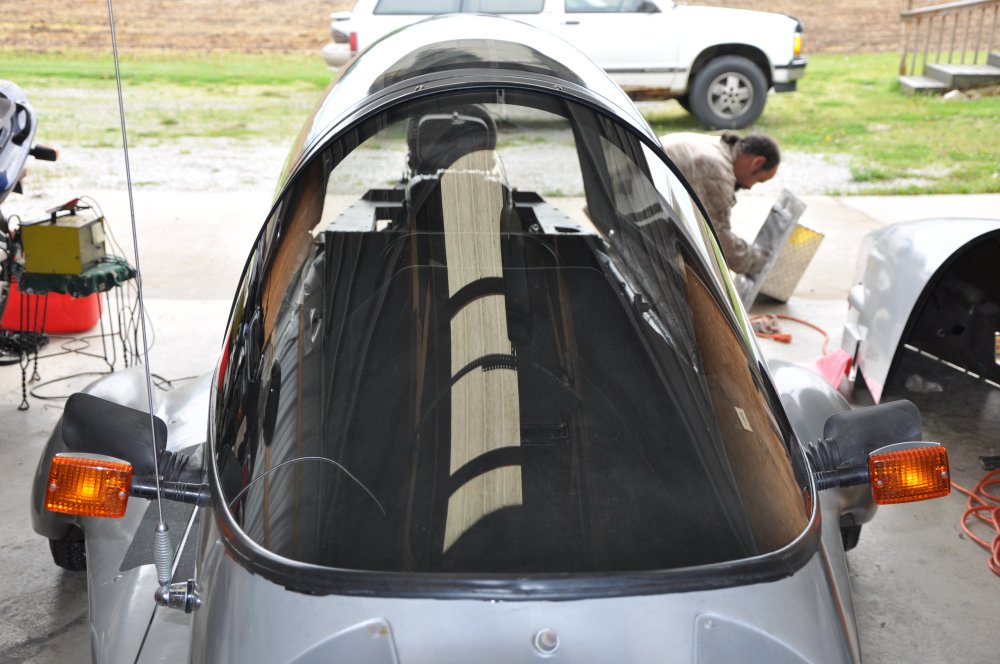
As you can see from the photos, the fit and form are exactly the same as the original canopy. There is "NO" hump in the profile unlike other replacement canopies. See comparison pix at bottom of this page. You be the judge and pic your own 'LOOK'.
<
<
You will need to replace the black rubber weather strip. Part number D may be the best fit.
Rubber Weather Strip is avialable from J.C. Whitney:

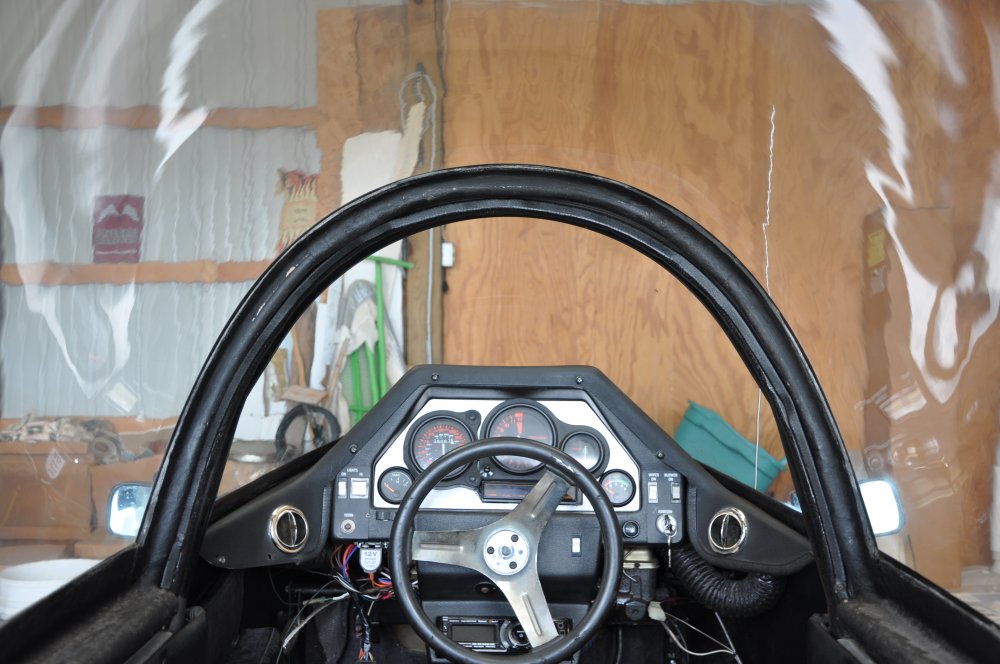
Windshield removal (steering repair)
by: Dave Bauer #167
If your windshield molding is like the others, you will notice that there is a seam down the center of the outside of the molding. You can open this seam and your molding will 'clamshell' open to allow easy removal of the windshield.
Start at one end of the molding and insert a screwdriver into the seam to start it opening. Work the screwdriver around the windshield until the entire seam is open. You may then carefully, and with the help of one or two buddies, lift the windshield out from the inside. Be very careful with the glass.
Installation is the reverse. Apply a small amount of silicone grease to the molding seam to help on installation. Once the windshield is out, remove the large access panel at the forward edge of the opening to access the steering/front chassis. While you are in there, lubricate the front steering post.
You should also do a very close inspection of all of your under-dash wiring while you've got your dash removed.
If your molding is like mine, it has probably shrunk over the years. New molding can be purchased from JC Whitney.
MORE INSTALL ADVICE FROM JIM AUGUSTINE WITH PULSE #23
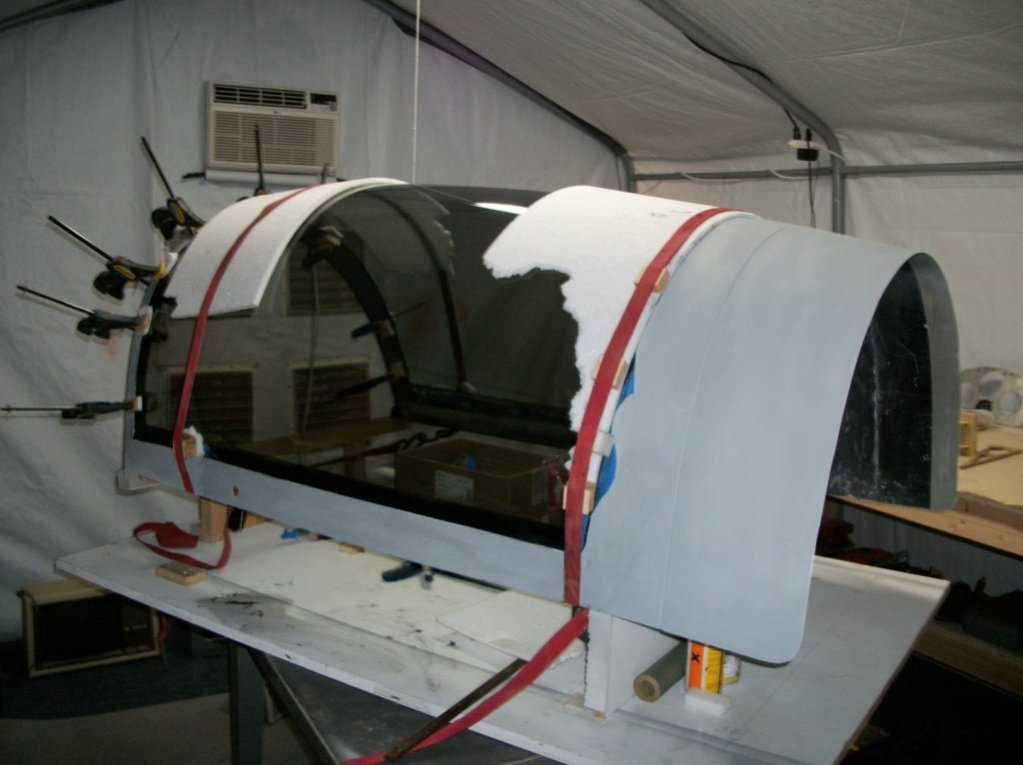
Above, the canopy and windshield from Todd's Canopies in Ft. Lauderdale, Fl. is glued to the canopy frame. The installation required several hours of trimming with an angle grinder equipped with a cutoff wheel and a lot of grinding using a die grinder and abrasive wheel. When I was very close to a good fit. The acrylic canopy was clamped to the original Pulse canopy frame. The custom made jig was necessary to pull the acrylic down against the frame during the final gluing process since the rear requires a strap, a clamp won't fit.
At this point the canopy required just a little more grinding for a good fit. Sikaflex Primer was used and Sikaflex 295UV to glue the canopy to the frame. It is recommended to tape off about an inch all around the edge of the acrylic and prime this 1" surface with the black primer.
Sikafles 295-UV has been used to glue canopies on experimental aircraft, so it is a permanent, flexible, UV safe adhesive. The major obsticle in creating canopies from Lexan is forming the "bubble" over the drivers head.
With molding prices for a new canopy ranging from 2,500 to 6,000 dollars, Lexan seems to be a cheap alternative. One owner that I know of had a guy "heat mold" Lexan to form a new canopy.
I fabricated a new windshield, but it does not require the bubble that the canopy does.
Steve George
Canopy fabrication isn't as easy as it sounds, first you must have a buck or mold to form the plastic
over, this has to be ultra smooth and exact in size and shape. Next you have to have a clamping system
to hold the plastic in place to the mold (buck) and you have to have sufficient heat to soften the plastic.
For a polycarbonate like lexan (which is a trade name) the heat must be soaked for thickness of 3/16th inch which requires a drying oven (plastics retain moisture and heating them causes bubbles from the moisture escaping). This drying also preheats the plastic which for the canopy size (52 by 50 inches) requires a tremendous amount of heat applied evenly or the plastic will not form properly and be lumpy.
Usually a sheet this size is hung in a room preheated to dry.... then heated more to soften. Most time the heat source is natural gas (it heats more efficiently). The plastic is then slung over the heated and clamped in place until the plastic is cooled, it can then be trimmed and removed from the buck and mounted in the frame.
Sheets this size and thickness (which are expensive) are not formed with heat lamps. I have experience doing this and would not attempt anything this size without professional assistance.
Dave Bauer #167
I had one made from glass a few years back for $1200. Unfortunately, the shop went under. I do have
a pattern that you can use to make one out of plex. I use FMR-5 because it is scratch resistant and
only costs about $60 per 4x8 sheet.
Plastic windshields would be scratched by wipers. But according to Randy Pinkham, "Rain-X causes rain to 'bead up' on the windshield and allows for driving in all but the heaviest of rains without needing wipers. I am (almost) sure that you can use it on Lexan, Plastic, etc. An application will last 3-6 months (depending on weather and U-V exposure)."
Jim Finch.......2008.....
I ordered a new canopy from Todd's canopy of Florida. He was very helpful and it was fine to do business with him. On his web site he uses a adhesive called Siuka u295. It sells for $20 a tube and it needs a primer that sells for $40.
I have installed the canopy from Todds and used the Siuka 295 which seems very strong. I also used the primer that is recommend for it. The primer sells for $60.00.
Bob Hichborn......2008.....
I recently installed the canopy on Pulse #77 and used a polyurethane/silicone based sealant called Life-Seal from BoatLife.
The original canopy was just fastened using some silicon sealant. It was a tight bond, but easliy removed with a sharp blade. The canopy could be cleaned, meaning the sealant didn't affect the canopy itself, like some glues or other adhesives might. If Todd recommends a particular product it's probably a safe and well tested choice. I didn't want to use bolts at all, because I think it takes away from the sleak Pulse profile, so I only used them sparingly.
One thing about Todd's canopy's (which you may already have found out) is that they tend to have more curve to them and have to be cut to fit. Because of this the "fit" may vary. This "extra curve" keeps the canopy from laying consistently on the fiberglass canopy frame. As a precaution I added several bolts evenly spaced at each corner, making sure the bolt hole was bigger than the diameter of the bolt so there'd be no chance of the bolt chaffing the inside of the hole, potential initiating small cracks. I covered the bolts with HINGE SNAP-CAPS® - Hinged Screw Covers. You can find them at Lowes or Home Depot.
I'll also mention that where you decide to trim the canopy and windshield from Todd's will determine how much of that "bubble" or " bottlenose dolphin" look you get. After reviewing some pictures I took of Pulse #77, I realized I had more of that effect than I wanted, but it's too late to change now. When I cut the other 2 sets I have for the two proto-types I've got, I'll pay a bit more attention to this.
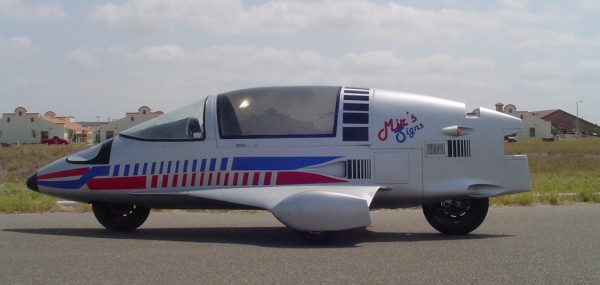
Below is a Todd's canopy....as stated above, the HUMP or Bubble amount can be determined when ordering from Todd's...... or when it is installed.
Below is #274 with Todd's canopy